Great Balls of Fire!
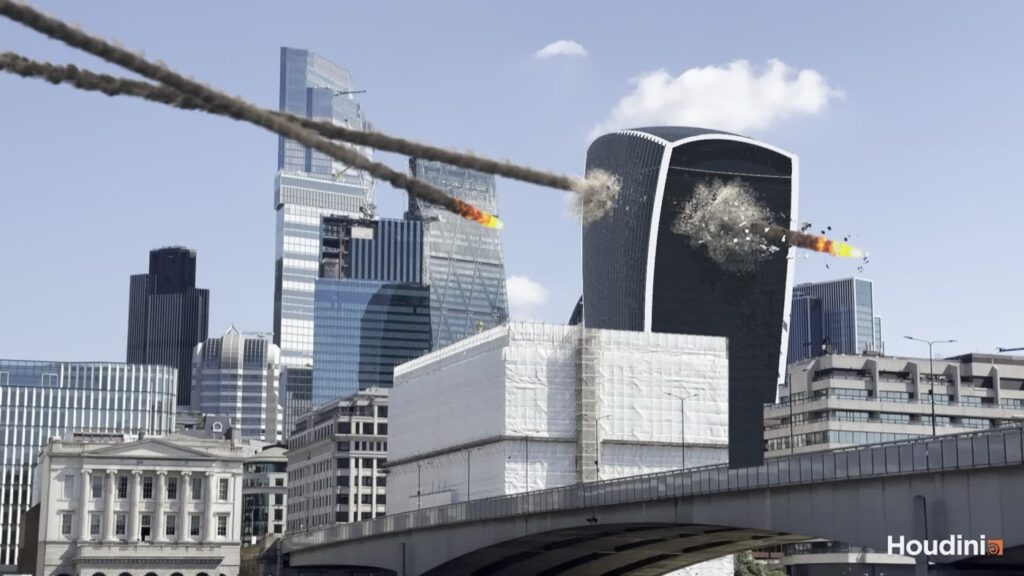
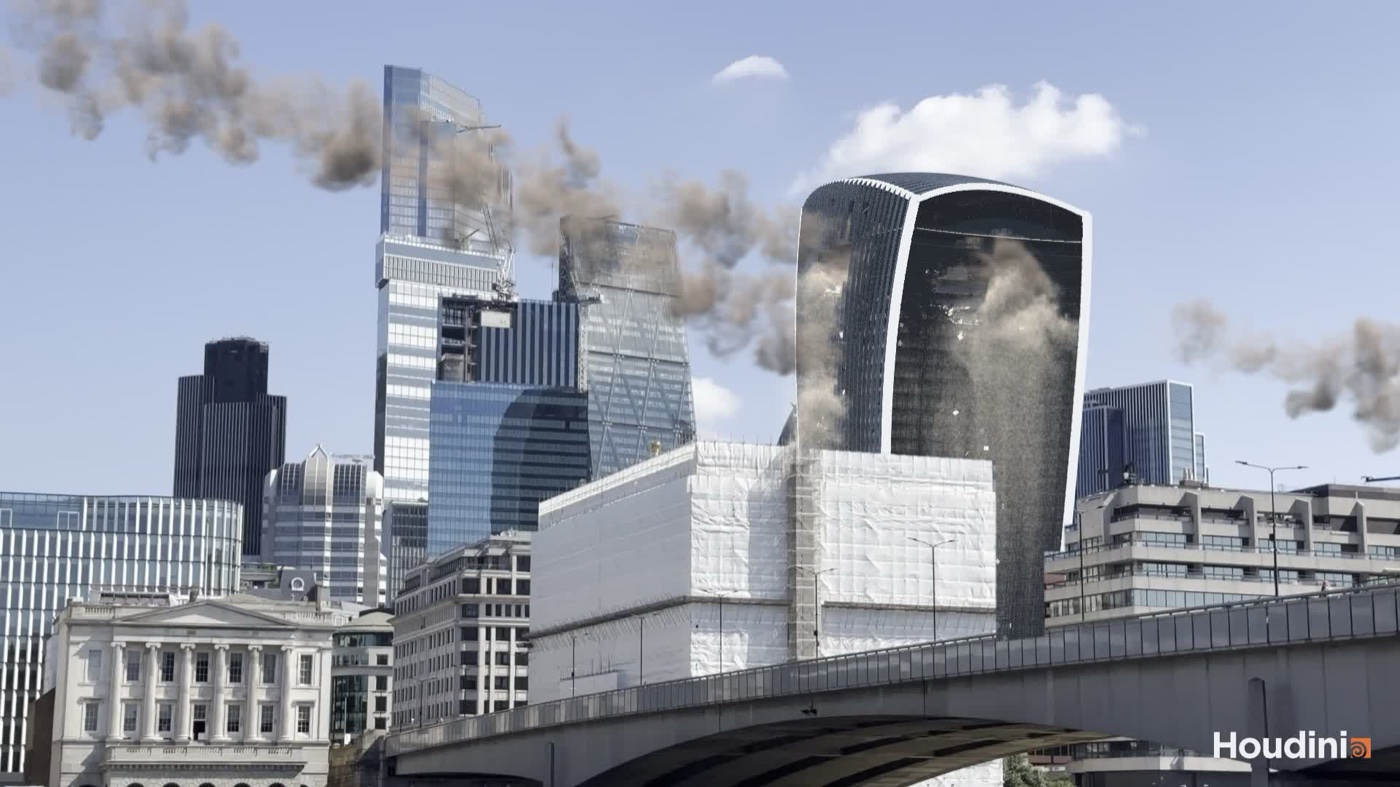
In the last post the Walkie-Talkie got its dust, and I signed off by saying it was time to set the building on fire. Well, not quite yet! The two asteroids doing all the damage were still plain grey rocks sliding in on their paths, so day five went on them instead. They now come in as burning rocks, with a solid white hot head, a short lick of yellow, orange and red fire, and a dark smoke trail that breaks up and hangs across the sky behind them. Along the way the tower finally went behind the bridge, the dust bursts learnt to grow out of the holes, the dust went back to grey and the shot got trimmed to 240 frames. Here’s where it got to:
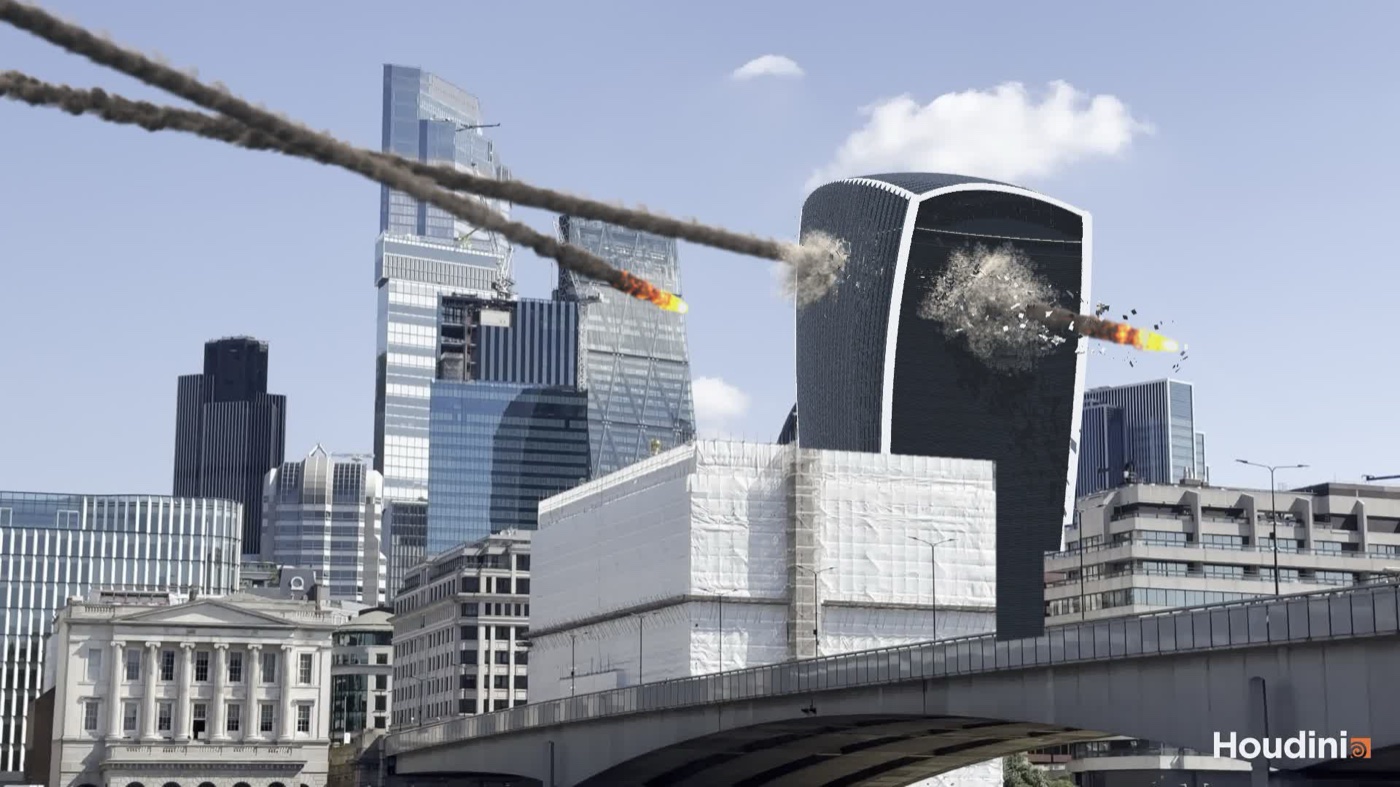
And here’s the latest flipbook. It’s still OpenGL shading rather than a render, and there’s no fire or smoke from the impacts yet, so keep an eye on the sky on the left, where the trails hang around long after the rocks have gone in.
A burning ball of fire
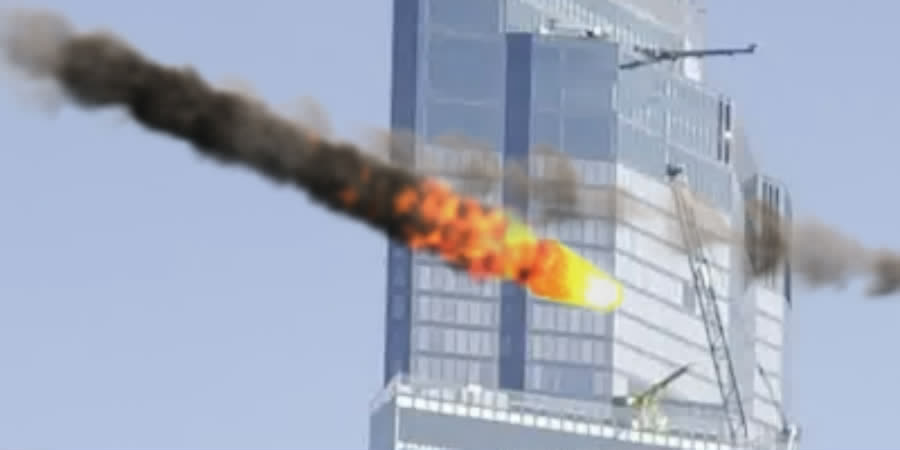
Up to now the asteroids were just rocks on animated paths. Rock A comes in from the far left and hits on frame 48, and rock B hits on frame 36, punches straight through and comes out the other side on frame 39. Both are about 4 m across and 700 to 1,000 m from the camera, so on screen they’re only a few pixels wide. What sells them is what they trail. My brief was a burning ball of fire with smoke streaking behind it, natural looking for now, with plenty left to fix in comp later.
Everything lives in one network with its controls on a single node, split into tabs. Trail is a Pyro sim of the fire and smoke behind each rock. Every frame, points get scattered along the path the rock travelled since the last frame, in a shell around it, carrying smoke, heat, fuel and a little sideways push, and those get turned into volumes and fed to a Pyro Solver. Core is the head of the fireball, which is built separately and isn’t simulated at all (more on that below). Rock is the rock’s own look, cracks and a hot leading face, which is switched off for now. Nothing gets emitted inside the tower either, so the fire stops the moment the rock goes in.
Fifteen trails in an afternoon
Each test simulated frames 1 to 70 and got judged on six stills over the plate plus a close-up of frame 38. The first pass came out as a smooth, pale rope with no fire in it at all.
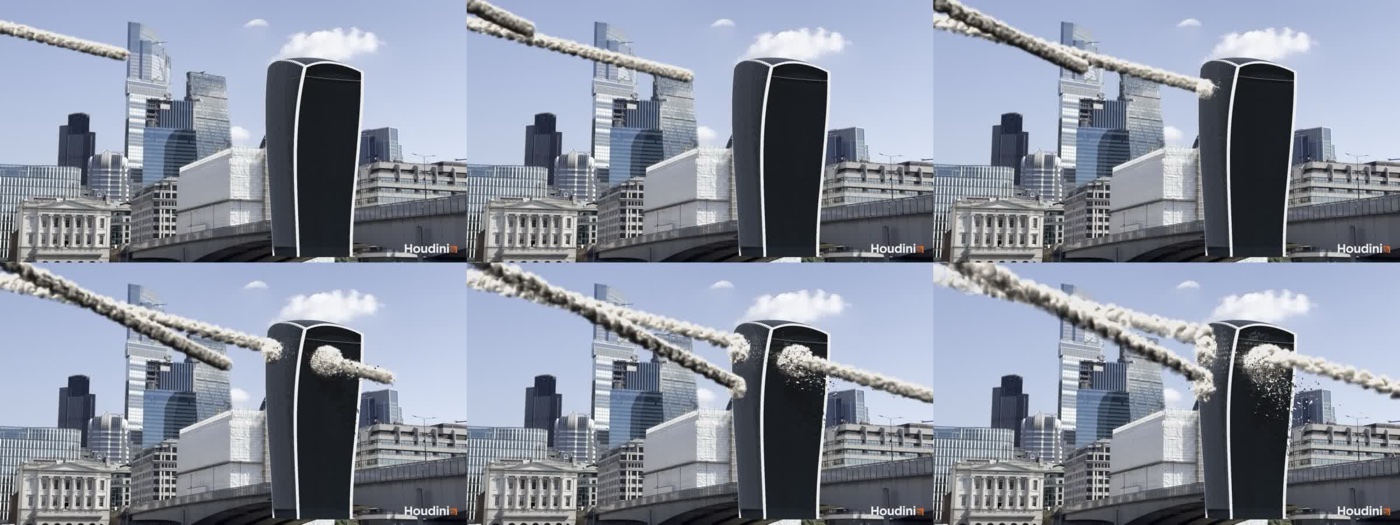
Colouring the smoke a dark grey brown, turning the fire glow on and roughing up the source made it read as smoke, but now each head dragged a long white streak behind it. Shortening the fire didn’t shift it, because the whole fire section was sitting at peak heat and the glow clipped to white.
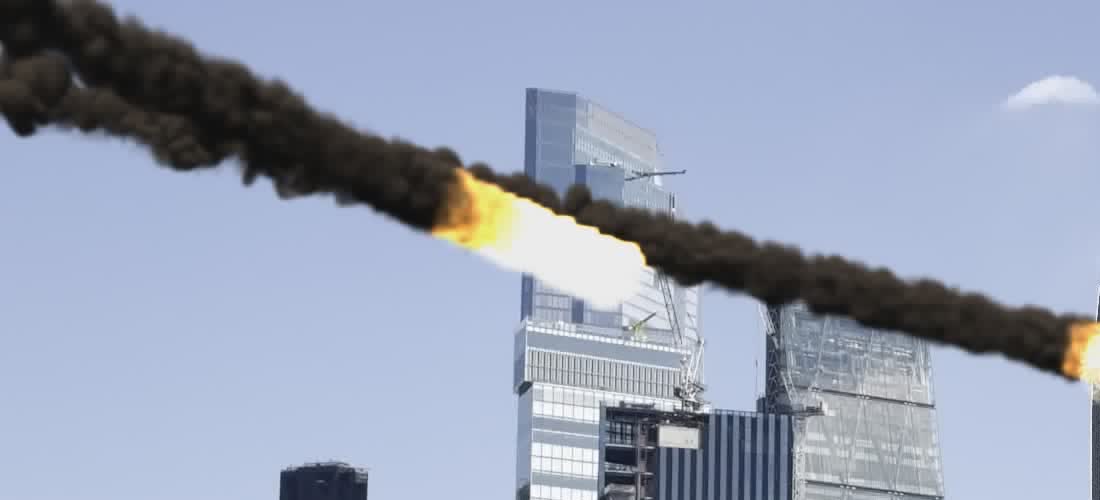
Putting the fire only at the front of each frame’s segment got it close: a fireball at the head and a dark trail behind.
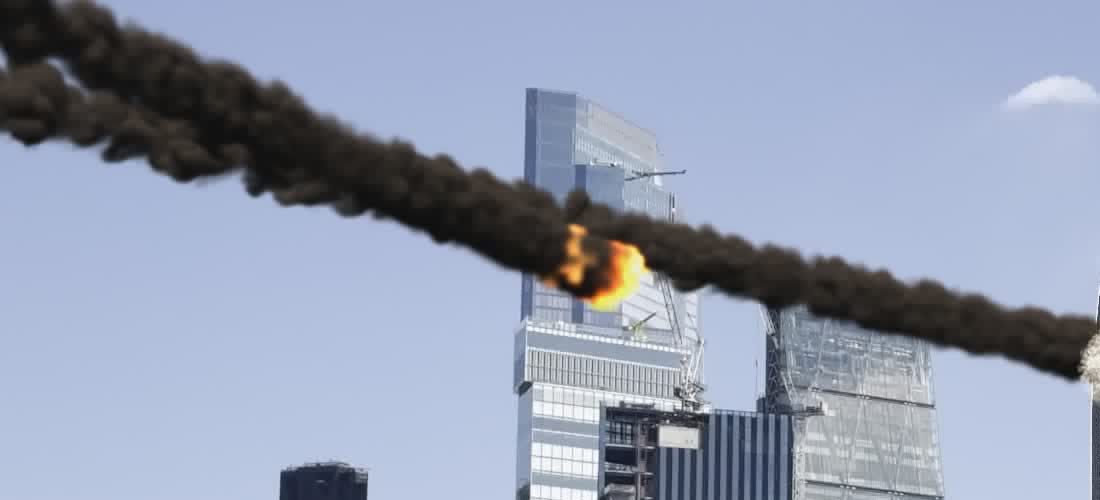
Then my notes started. Half the thickness, the smoke fading along the tail, the fire half as long. That broke the smoke into beads, because thinning it at the head left a gap in every frame’s segment.
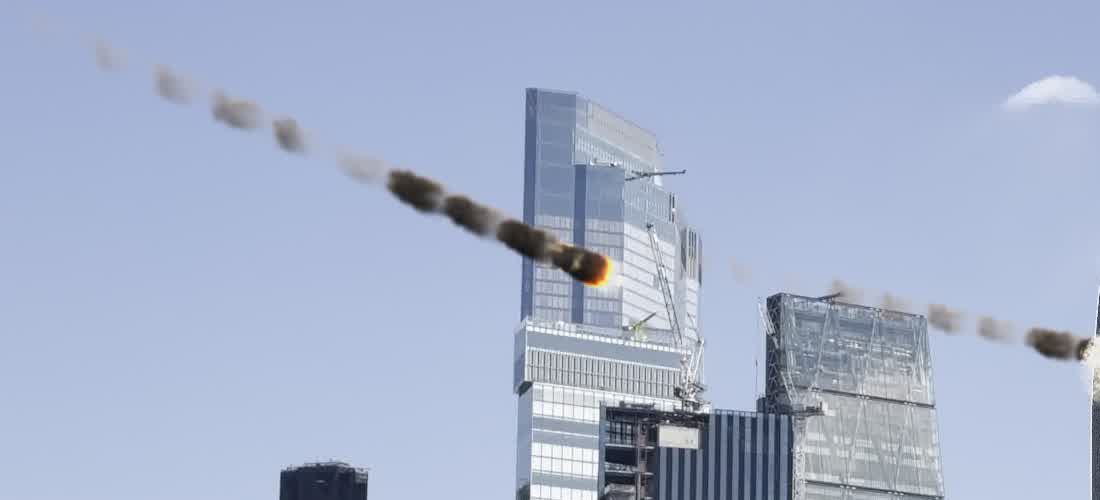
Moving the smoke source back by half a segment, so each frame’s smoke joins up with the last, gave continuous smoke and a tail that fades, but the fire almost vanished. Bringing the fire’s life and glow back up, and making the fireball fatter than the trail, sorted that.
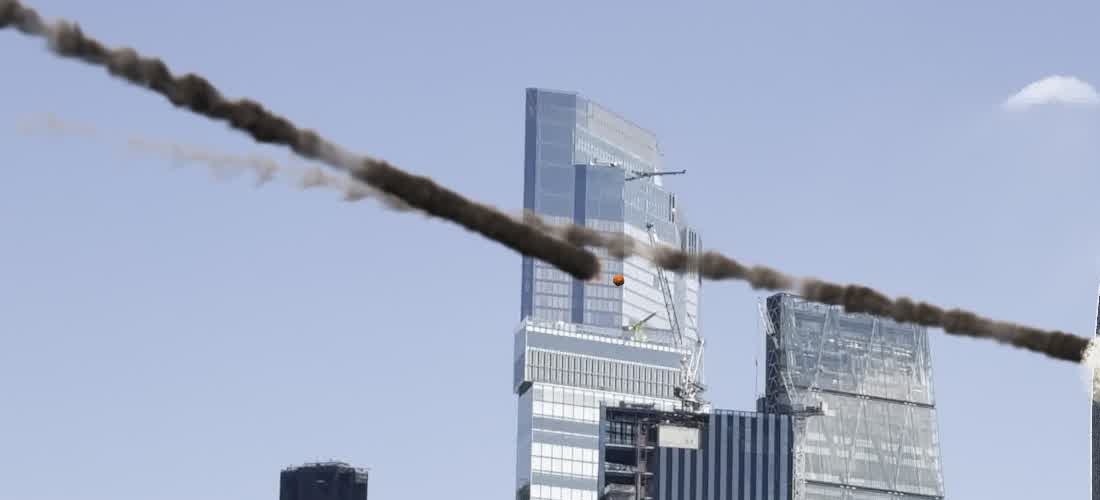
Stirring it up
The head of the trail was still far too clean, basically a tube. My note was that it might need more substeps, and some micro solvers to get the smoke moving around with a few vortices. The Pyro Solver’s shaping micro solvers do exactly that job, they’d just been set at the wrong scale for a trail that’s only a few metres wide. The turbulence swirl size was 6 m, wider than the trail, so it was shoving the whole tube around instead of curling it, and it came down to 1.8 m. The disturbance block size was 0.2 m, which is smaller than a voxel, so it was doing almost nothing, and it went up to about a metre. Shredding was off, and it’s now on and driven by temperature, so it tears the smoke where it leaves the hot head. Substeps went from 1 to 2 or 3.
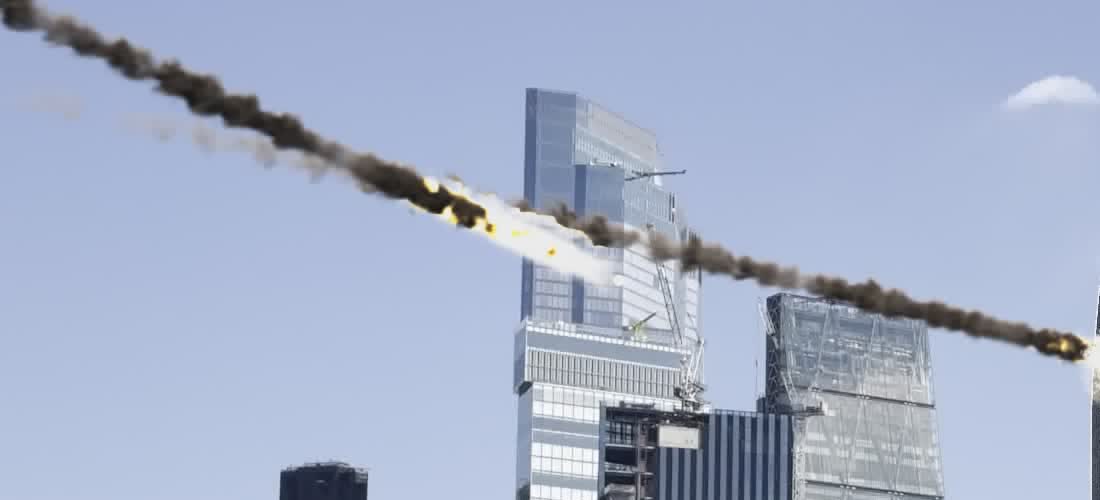
With the rock geometry hidden and a fireball around each rock the fire was graded but mostly yellow, so the voxels went down to 0.3 m, the flame noise got finer and the colour ramp got pushed towards orange and red.
A rock, not a ghost
The simulated head never looked solid. It smeared into vapour the moment the solver touched it, and what I was after was a solid ball of flame, a rock solid ball of destruction, not a ghost! The fix came from my old FumeFX setups in Max, where the fireball was always its own thing: keep the ball separate, with a volume following it, so each can be adjusted on its own.
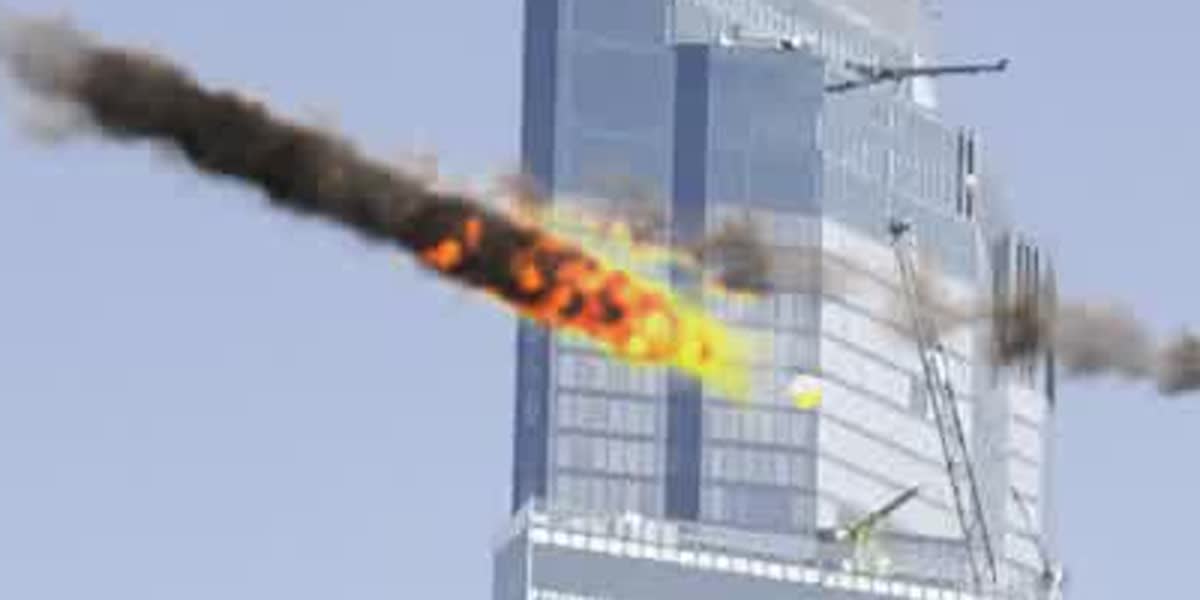
So the head is now built fresh every frame at the rock’s position and never goes near the solver. It’s a small white hot point at the rock with a rounded leading face that never sits ahead of it, then a solid tail running back about half a frame’s travel, opening out to the width of the fire and cooling from white through yellow to orange, with some surface noise and churn so the colours mix. It has its own size, length, width, heat, brightness and opacity controls, and because nothing is simulated, any change to it is instant. The first go was a bit keen:
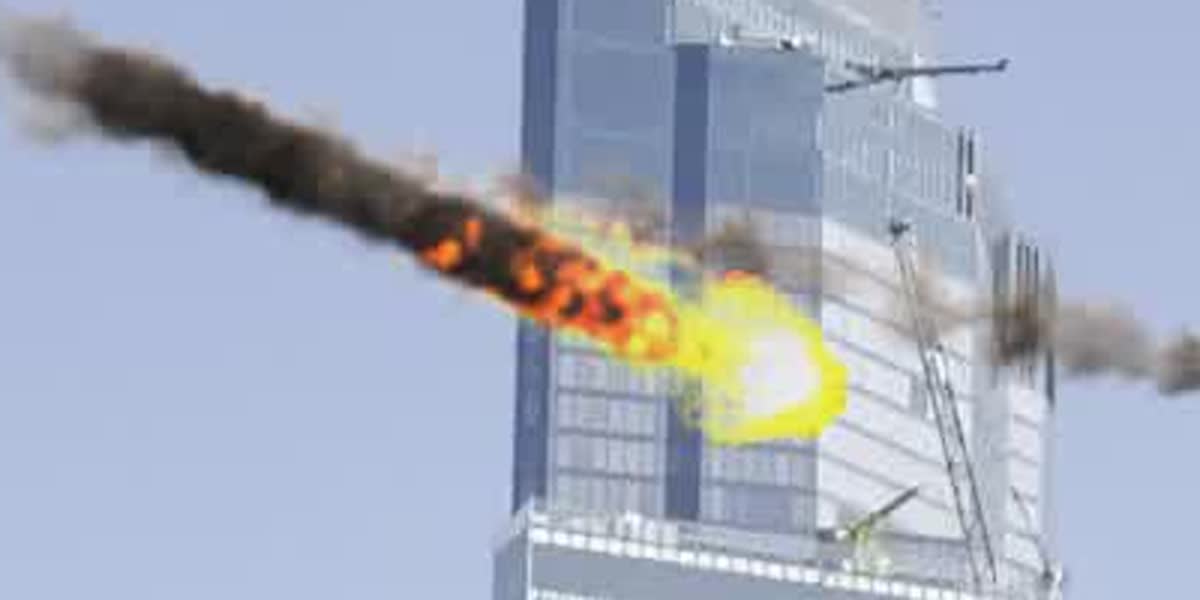
Giving the sim its own head back, to join the two up, brought an old friend with it.
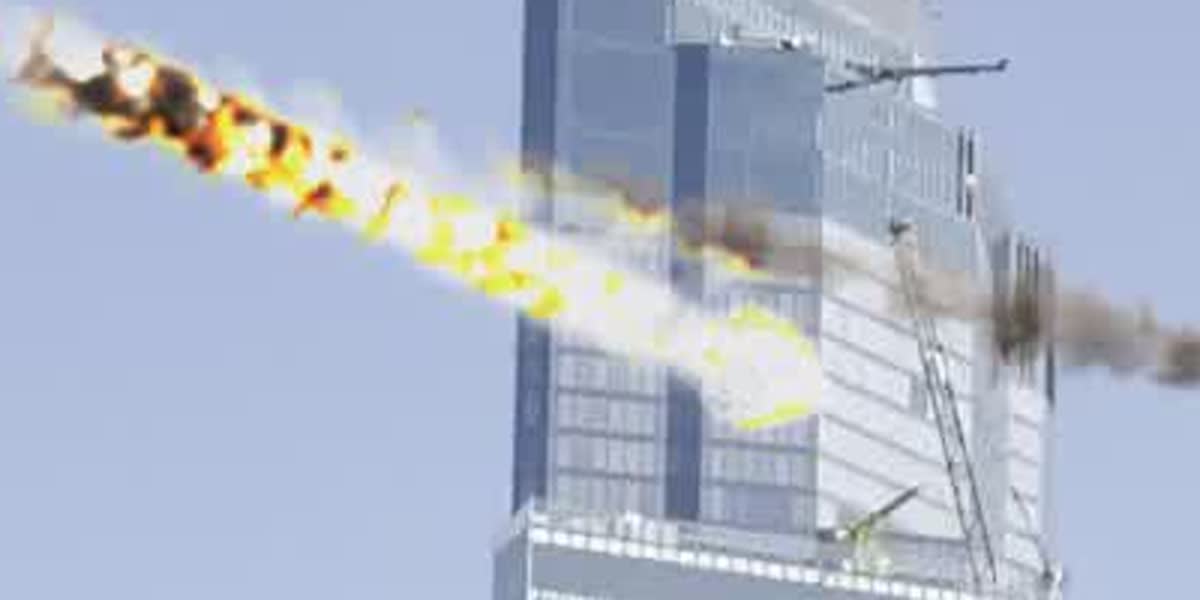
That one came down to how the points get turned into volumes. The rasteriser weights everything by density, so a point with zero density adds nothing to any field, fire and heat included. The sim’s own fireball points had no density, which is why the simulated head always looked faint, and giving them some brought the white streak straight back. So they got turned off, and the sim now only supplies the fire and smoke behind the separate head.
Then there was the candy corn. With the head and the sim fire overlapping, the sim fire covered the part of the head where yellow turns to orange, so the colours met at a hard line. Turning the glow down didn’t help, as nothing was clipping. What fixed it was shortening the head’s tail so the whole white to yellow to orange blend happens in front of where the sim fire starts.
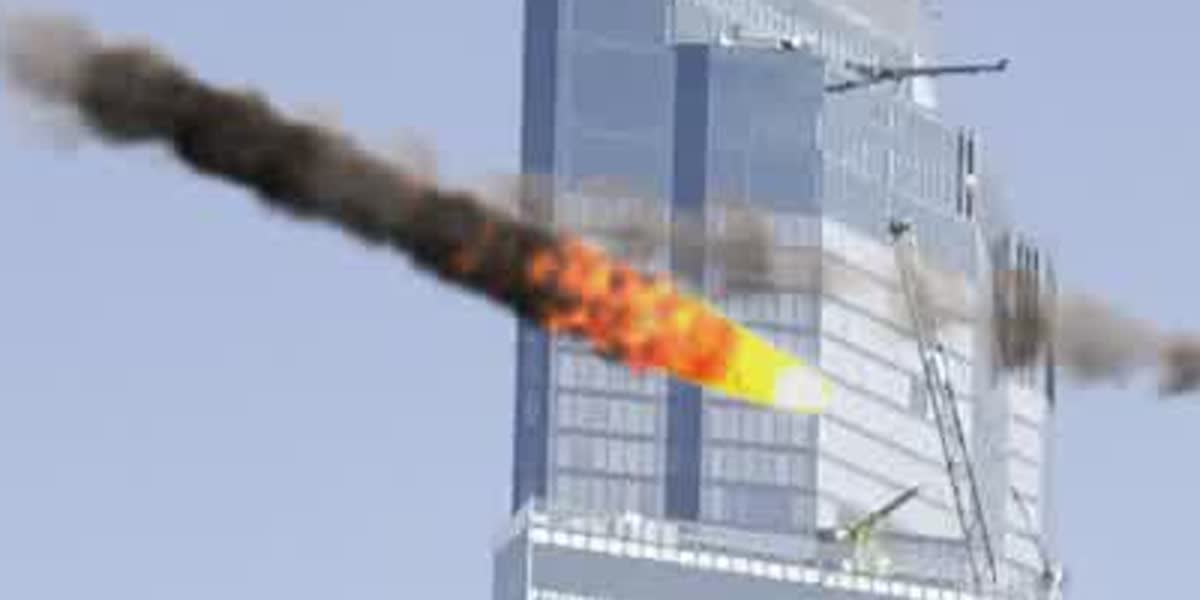
A couple more notes (nothing should lead the rock at that speed, and the fireball a touch smaller so the smoke is slightly wider than the fire) and that was the head signed off.
Behind the bridge
The review flipbooks used to lay the CG straight over the plate, so the CG tower stood in front of the bridge right down to the bottom of frame. A small comp script now puts a foreground matte over it, covering the bridge, the scaffolded block and the building on the right. The camera is locked off, so the matte only had to be drawn once. The CG also gets a light haze grade so it sits about 800 m away like the buildings around it.
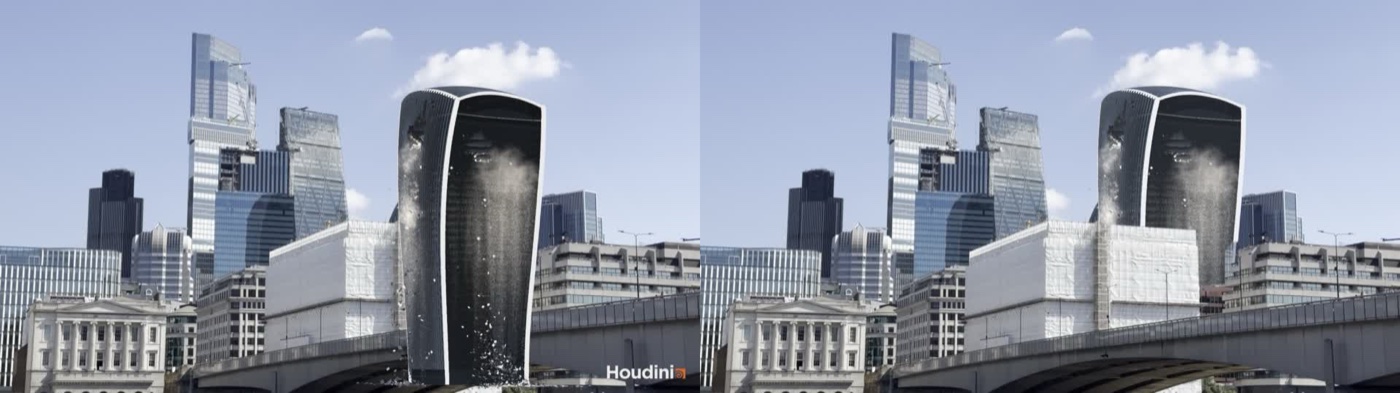
The building on the right has a stepped, angled edge, and that’s traced so the tower fills right down to each balcony slab.
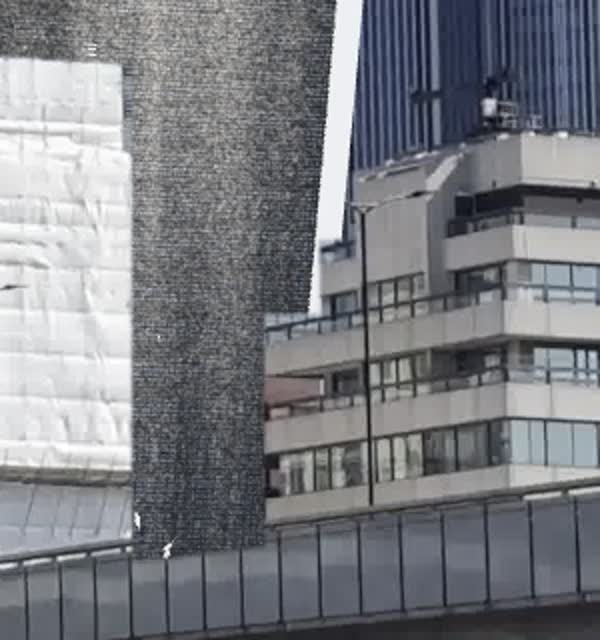
A few pixels of the real Walkie-Talkie still show at the base on the right, where my tower is very slightly narrower than the real one. That’s a job for the clean plate in Nuke later, and proper 3D blocks for the neighbouring buildings will replace the drawn matte when the renders happen.
Smoke that hangs around
The first full flipbook showed the asteroids reading well, but the trails were gone from the sky by frame 100, two or three seconds after the hits. I wanted them to trail longer and linger longer.
Turning the dissipation down worked in principle, but the cost exploded. Once the smoke survives, the solver’s box has to cover both kilometre long trails at 0.3 m, and the test was heading for many hours. Next was a wake laid along the path with no sim at all, which got binned because it copied the same noise all the way along (so it repeated) and it never moved like smoke. What worked was the two volume idea again. The detailed trail stays at 0.3 m right behind each rock and fades after a second or two, and a second, lingering smoke sim at 0.6 m gets fed along each path just behind it, where the detailed trail is fading, with very low dissipation. It billows, drifts, spreads and thins over the rest of the shot, and at 0.6 m it has about 8 times fewer voxels to deal with, so the full length runs in about 9 minutes.
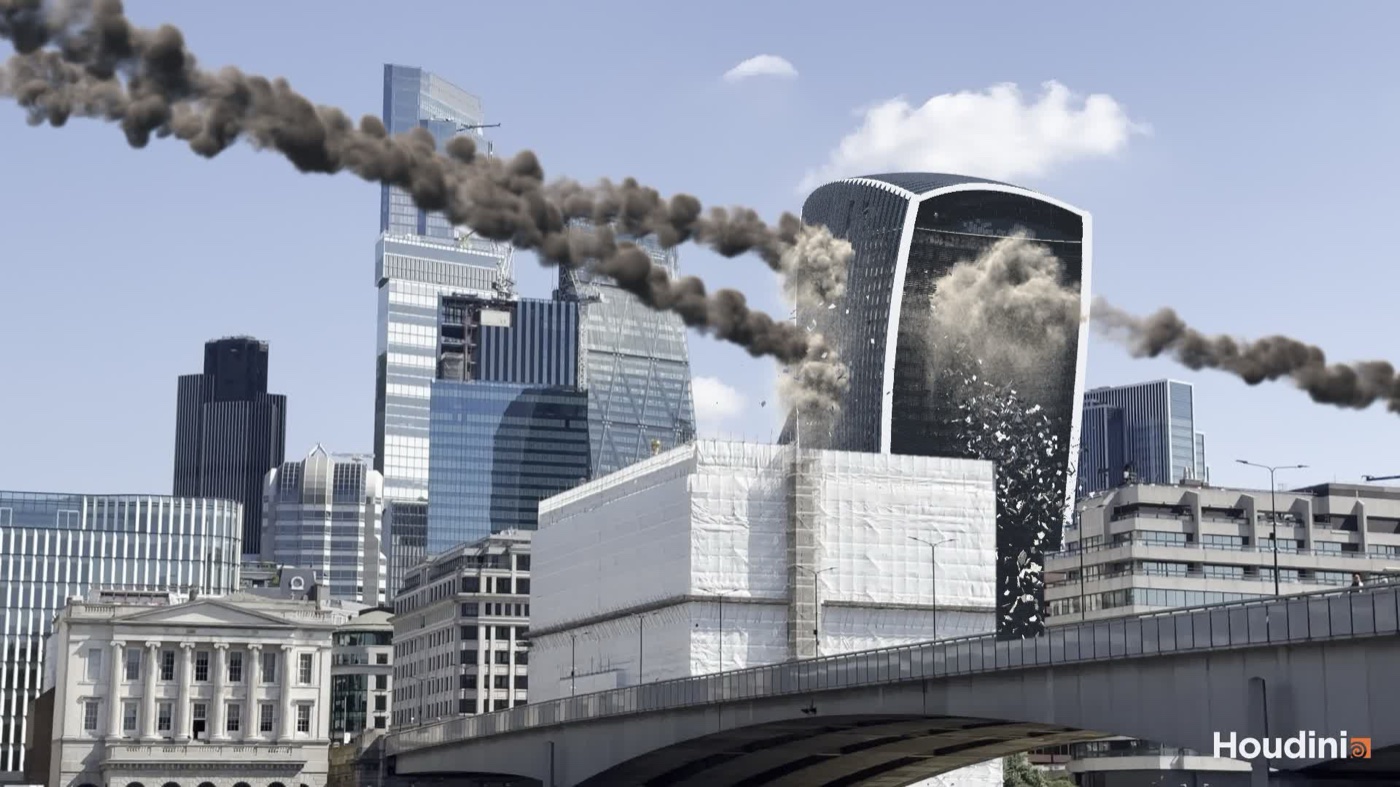
It took a couple of rounds. The first was too heavy, with thick dark bands across the tower, and in the next flipbook I spotted the trail pinching thin in places and stepping wider where the lingering smoke took over. The pinches came from the lumpy density along the detailed trail’s source, which got toned down, and the step was the lingering smoke starting wider and spreading faster than the trail it takes over from. It now starts earlier and narrower and spreads gently, so the trail just widens with age.
Both trail caches were dense volumes of mostly empty sky, plus three velocity fields the look never uses. They’re now written without velocity, with any smoke too thin to see zeroed out, as sparse VDBs, and frame 60 went from about 750 million stored voxels to about 333,000. The rule from here on: if we can’t see it, we kill it!
Growing the burst
In the flipbooks the first frames of the dust bursts looked weird. They popped in as near perfect balls on the face of the tower, although after that they looked decent, with the cauliflowering and the big rolls. Each burst was being born as a 10 m ball of dust at full size on its first frame. The first fix, blasting it out of the hole from a small spawn, trapped most of the dust behind the facade inside the building’s collision. The one that works keeps the old placement just outside the hole, where it reads, but grows each burst from about 2 m to full size over 6 frames while it’s carried outward, with a ragged, lobed outline stretched along the blast direction. Everything after that (the rolling, the shred and the curtain) is unchanged.
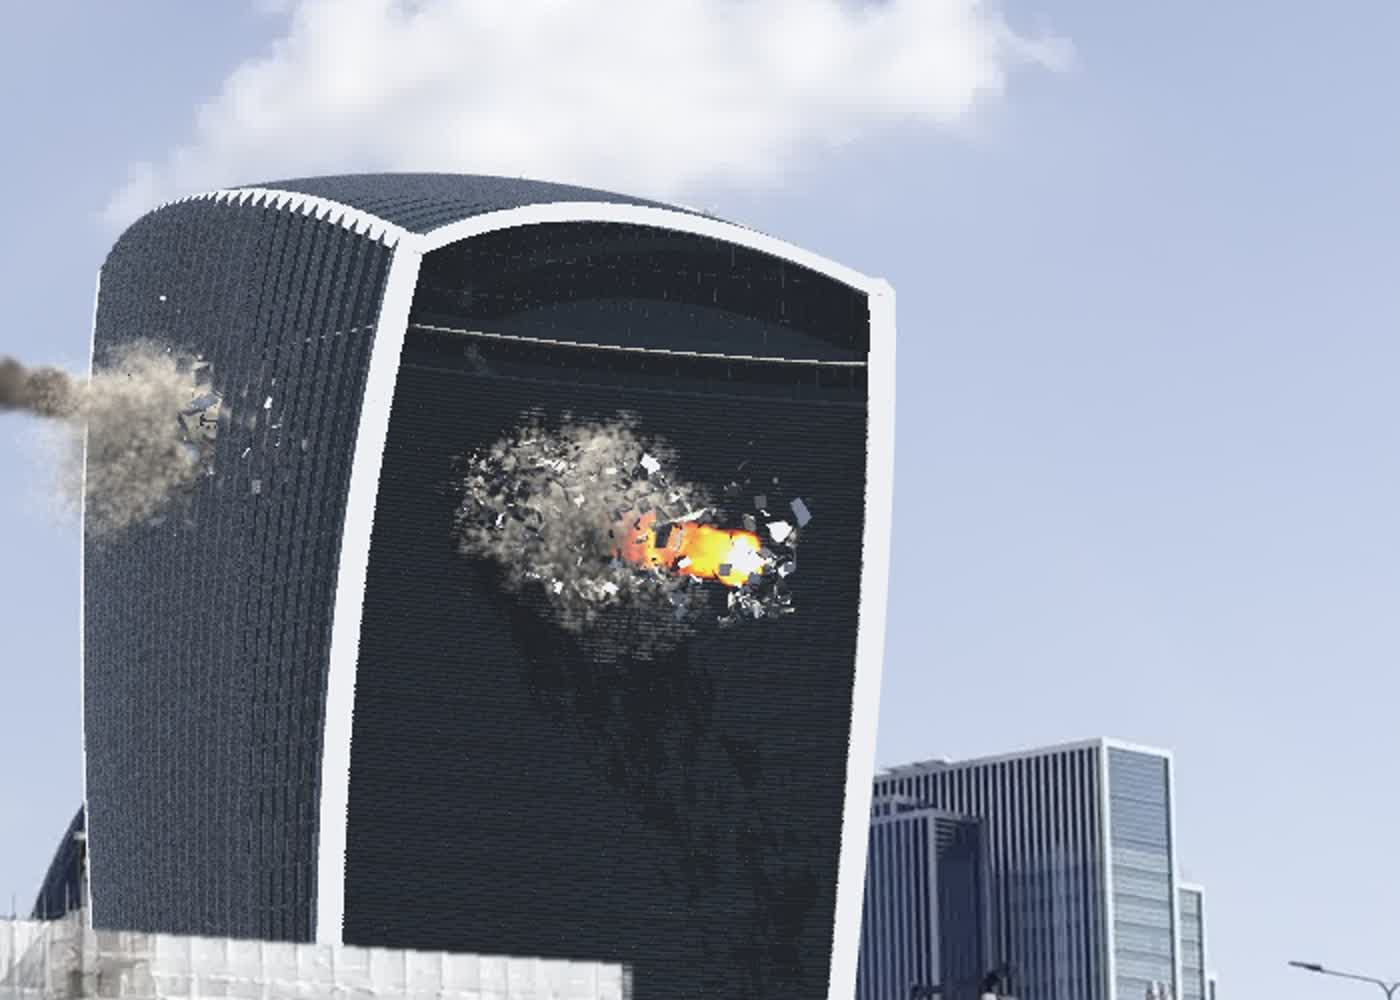
The dust also went back to grey. The white read too much like smoke, and a neutral concrete grey keeps it clearly apart from the brown grey asteroid smoke while holding on to the self shadowed cauliflower shading (a warmer grey just looked tan in the viewport). And the shot is now 240 frames, 10 seconds, starting from frame 1 so rock B flies in from off screen. Nothing gets simulated past frame 240 from now on.
The blooper reel
- The rock was in two places. Hiding it in the asteroid network wasn’t enough, because the tower sim’s render output still carried both rocks as packed geometry. They’re gone from there too now, on the same Show Rock Geometry toggle.
- Smoke in front of the rock. Some of the shell points landed ahead of the rock, which looks very wrong at that speed, so they get folded back behind it, and the head’s front face stops at the rock’s leading edge.
- Read only logs. I’d checked the Deathstar’s run log into Perforce, which made it read only, and the first test of the day died trying to write to it. Logs now live with the sim caches, outside Perforce.
How long it all takes
On the Deathstar a trail test over frames 1 to 70 takes about a minute at 0.75 m voxels and about 7 minutes at 0.3 m. For the shot, the detailed trail (frames 1 to 130, it’s gone after that) takes about 18 minutes, the lingering smoke about 9 and the dust burst 22. The head costs nothing, as there’s no sim. The slow part is the flipbook, about 82 minutes for 240 frames at around 20 seconds a frame, and finding out why is on the list.
How it’s built
Same as before, Claude did the hands-on work through the Houdini MCP bridge, in Houdini 22 Apprentice on the Deathstar, with me directing from the laptop and reviewing the stills and flipbooks. Every step is its own hip file with its own caches, the network gets built by a script so it can be rebuilt from scratch, and Claude kept a log of the day. Apprentice means the watermark is still photobombing every frame!
What’s next
Next up really is the fire: fireballs out of all three holes, then the broken floors burning, as two volumes (the fire, and the smoke it feeds) with the fire lighting the smoke, and built with the culling in from the start. After that come the blocks for the neighbouring buildings, so the debris and dust have something to hit and the renders get proper holdouts, then embers and fragments off the asteroids, the background asteroids, the re-sims once the louvres are in, and the render setup, which will be one Karma render into a multipart EXR with a layer per element to pull apart in Nuke. Ohh mai!

No Comments